
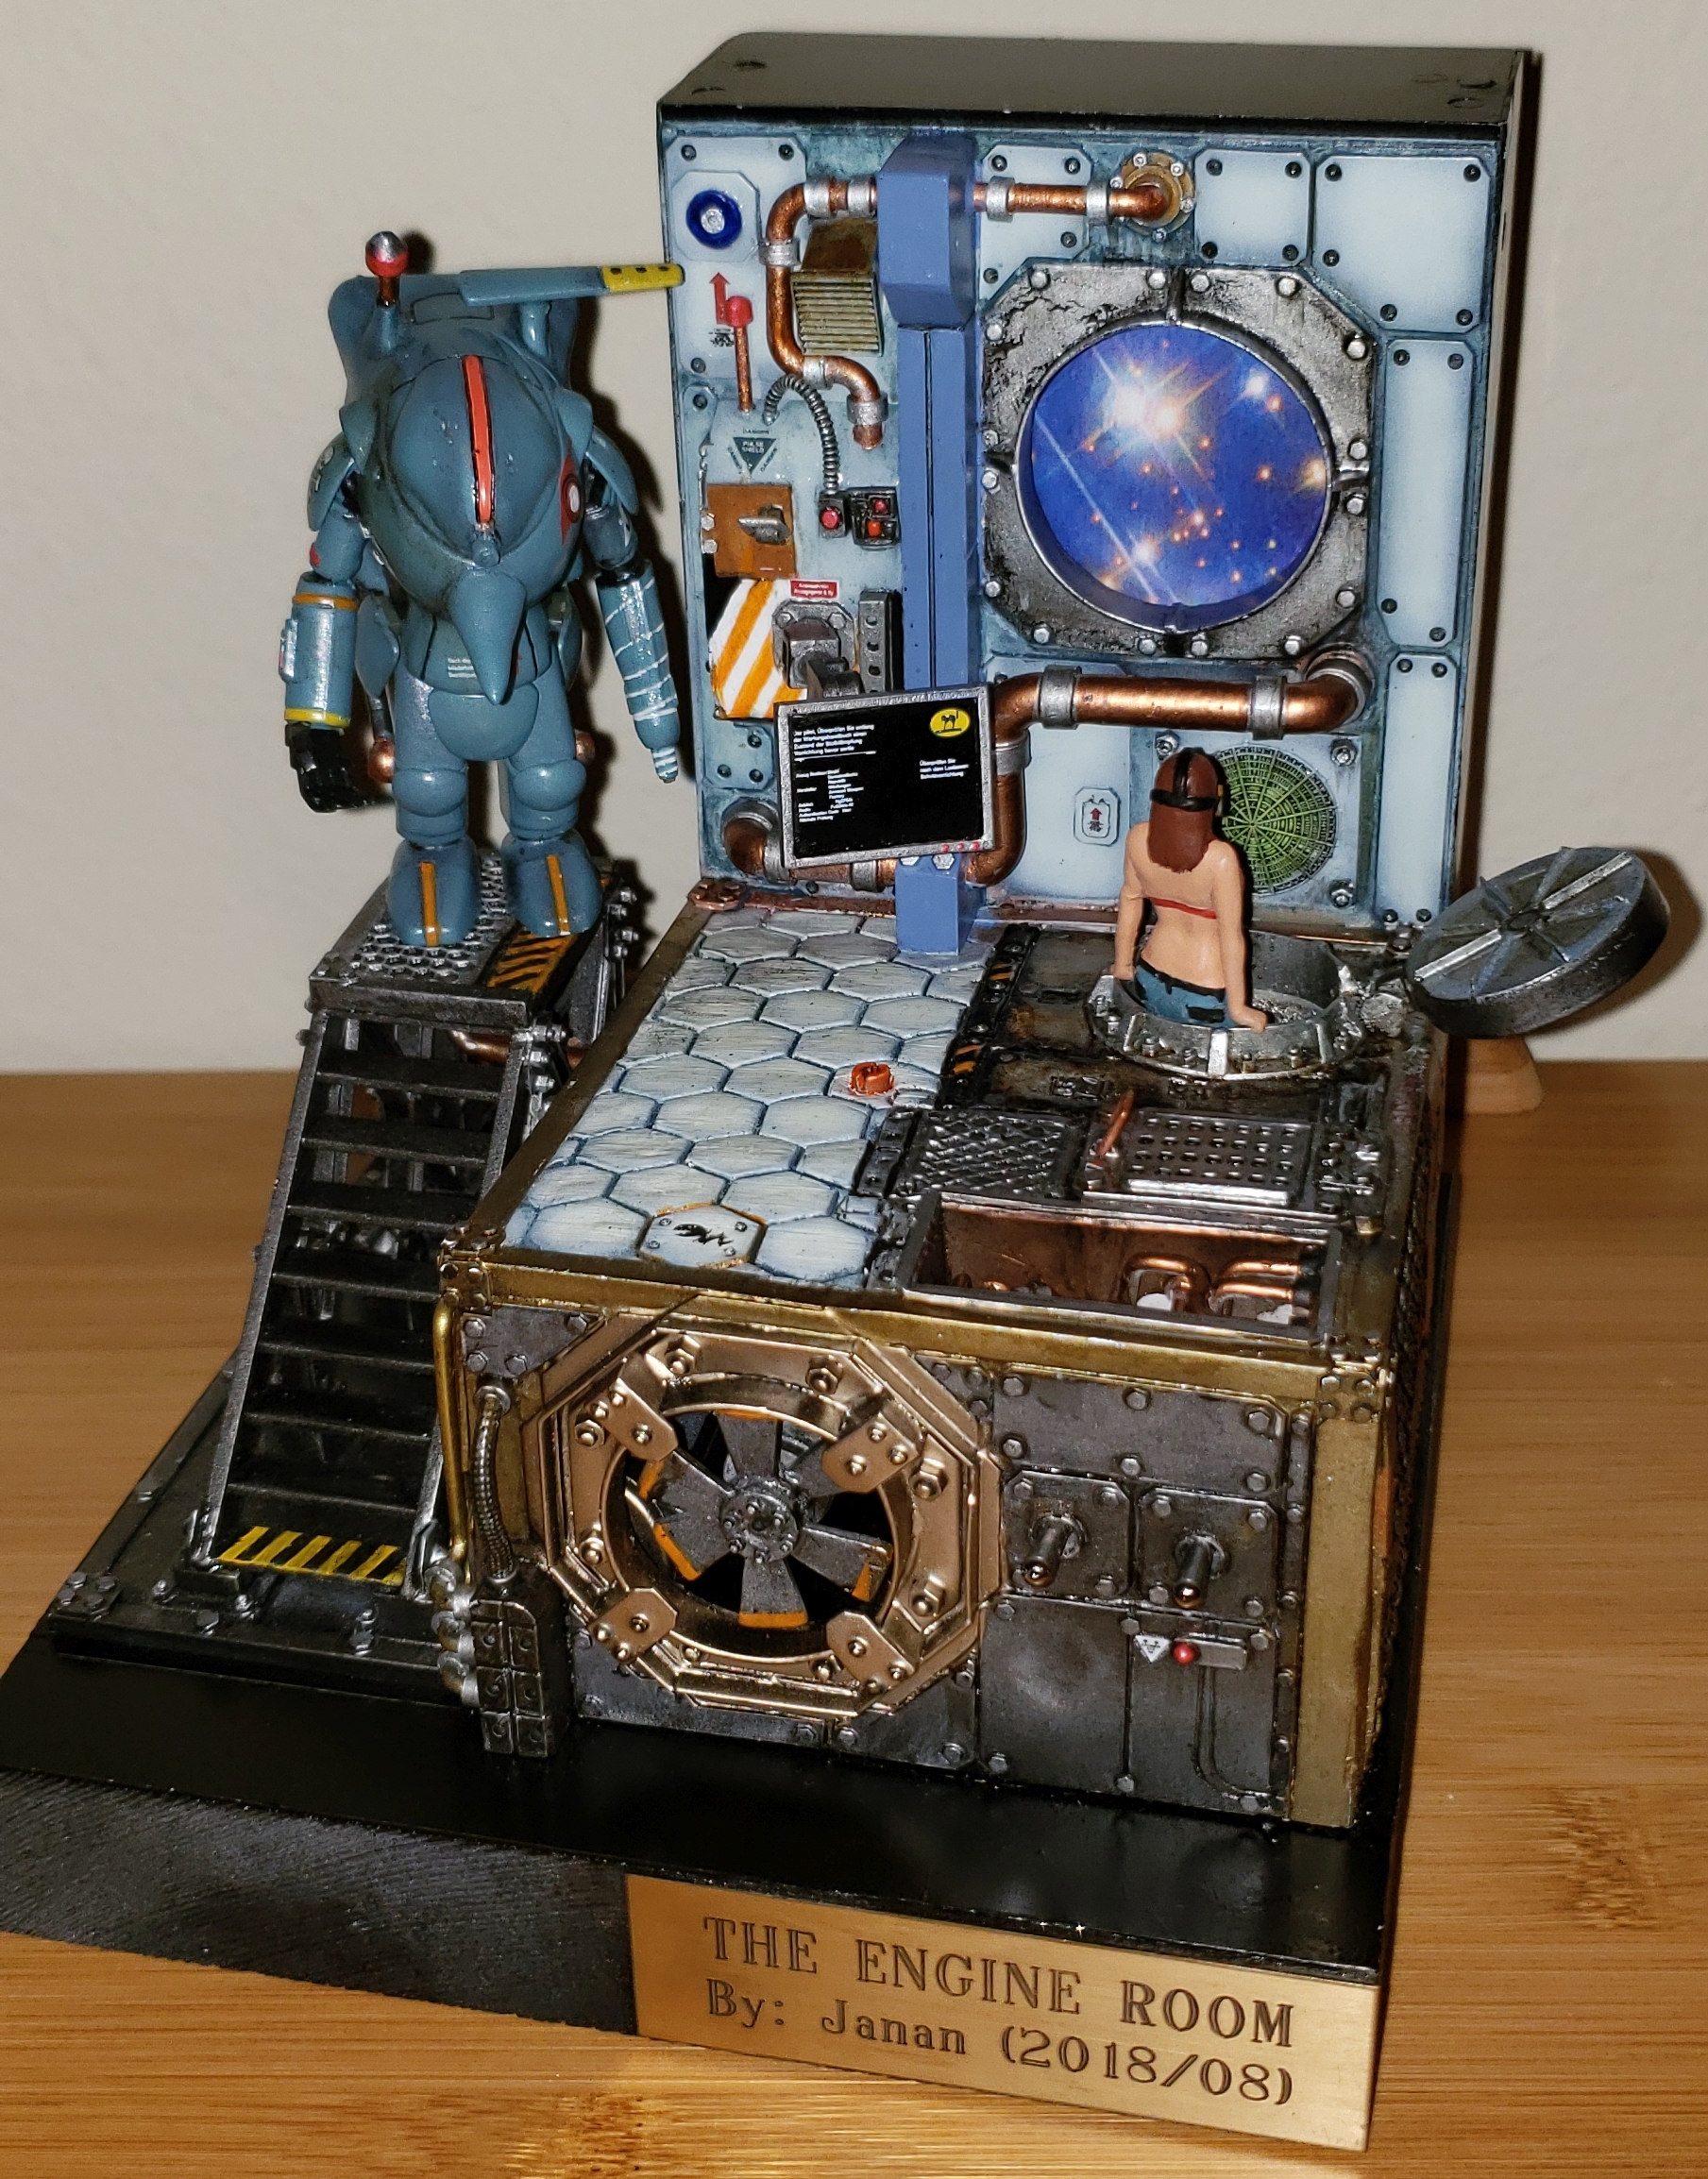
This scratch-built model captures a moment forever frozen in time: an engineer taking a brief break in the engine room, gazing out the spaceship’s window as it speeds through the cosmos. It’s a moment unreachable in our lifetime—and never-ending within the spaceship’s fictional universe.
.jpg)
.jpg)
The staircase steps were cut from a Plastruct ladder model, and individual H-beams were used to form the truss structure supporting the stairs. H-beams were chosen instead of I-beams to enhance the visual appeal of the truss and, more importantly, to take advantage of their greater rib depth compared to I-beams. This added depth increases the bending stiffness of each beam within the truss, resulting in a more robust design. To determine the final truss shape, several designs were drawn and evaluated. In the end, the version shown in the top-right image was selected for its combination of structural integrity and aesthetic appeal.
The staircase steps were cut from a Plastruct ladder model, and individual H-beams were used to form the truss structure supporting the stairs. H-beams were chosen instead of I-beams to enhance the visual appeal of the truss and, more importantly, to take advantage of their greater rib depth compared to I-beams. This added depth increases the bending stiffness of each beam within the truss, resulting in a more robust design. To determine the final truss shape, several designs were drawn and evaluated. In the end, the version shown in the top-right image was selected for its combination of structural integrity and aesthetic appeal.
.jpg)
The H-beam angles and lengths were calculated trigonometrically, while the beam lengths were refined through trial and error and joined using Tamiya Extra Thin Cement. The shaft and nuts were cast from Green Stuff World’s bolts-and-nuts silicone molds, and the hex bolt heads were punched out of styrene sheets using a hex punch. To ensure accurate scaling, half-inch bolts were selected and their dimensions reduced by a factor of 35, providing a realistic sense of scale for the molded hex bolts. The top flat panel of the staircase was created using Green Stuff World rollers and Green Stuff epoxy, then reinforced with a 2 mm styrene sheet underneath.
The H-beam angles and lengths were calculated trigonometrically, while the beam lengths were refined through trial and error and joined using Tamiya Extra Thin Cement. The shaft and nuts were cast from Green Stuff World’s bolts-and-nuts silicone molds, and the hex bolt heads were punched out of styrene sheets using a hex punch. To ensure accurate scaling, half-inch bolts were selected and their dimensions reduced by a factor of 35, providing a realistic sense of scale for the molded hex bolts. The top flat panel of the staircase was created using Green Stuff World rollers and Green Stuff epoxy, then reinforced with a 2 mm styrene sheet underneath.
.jpg)
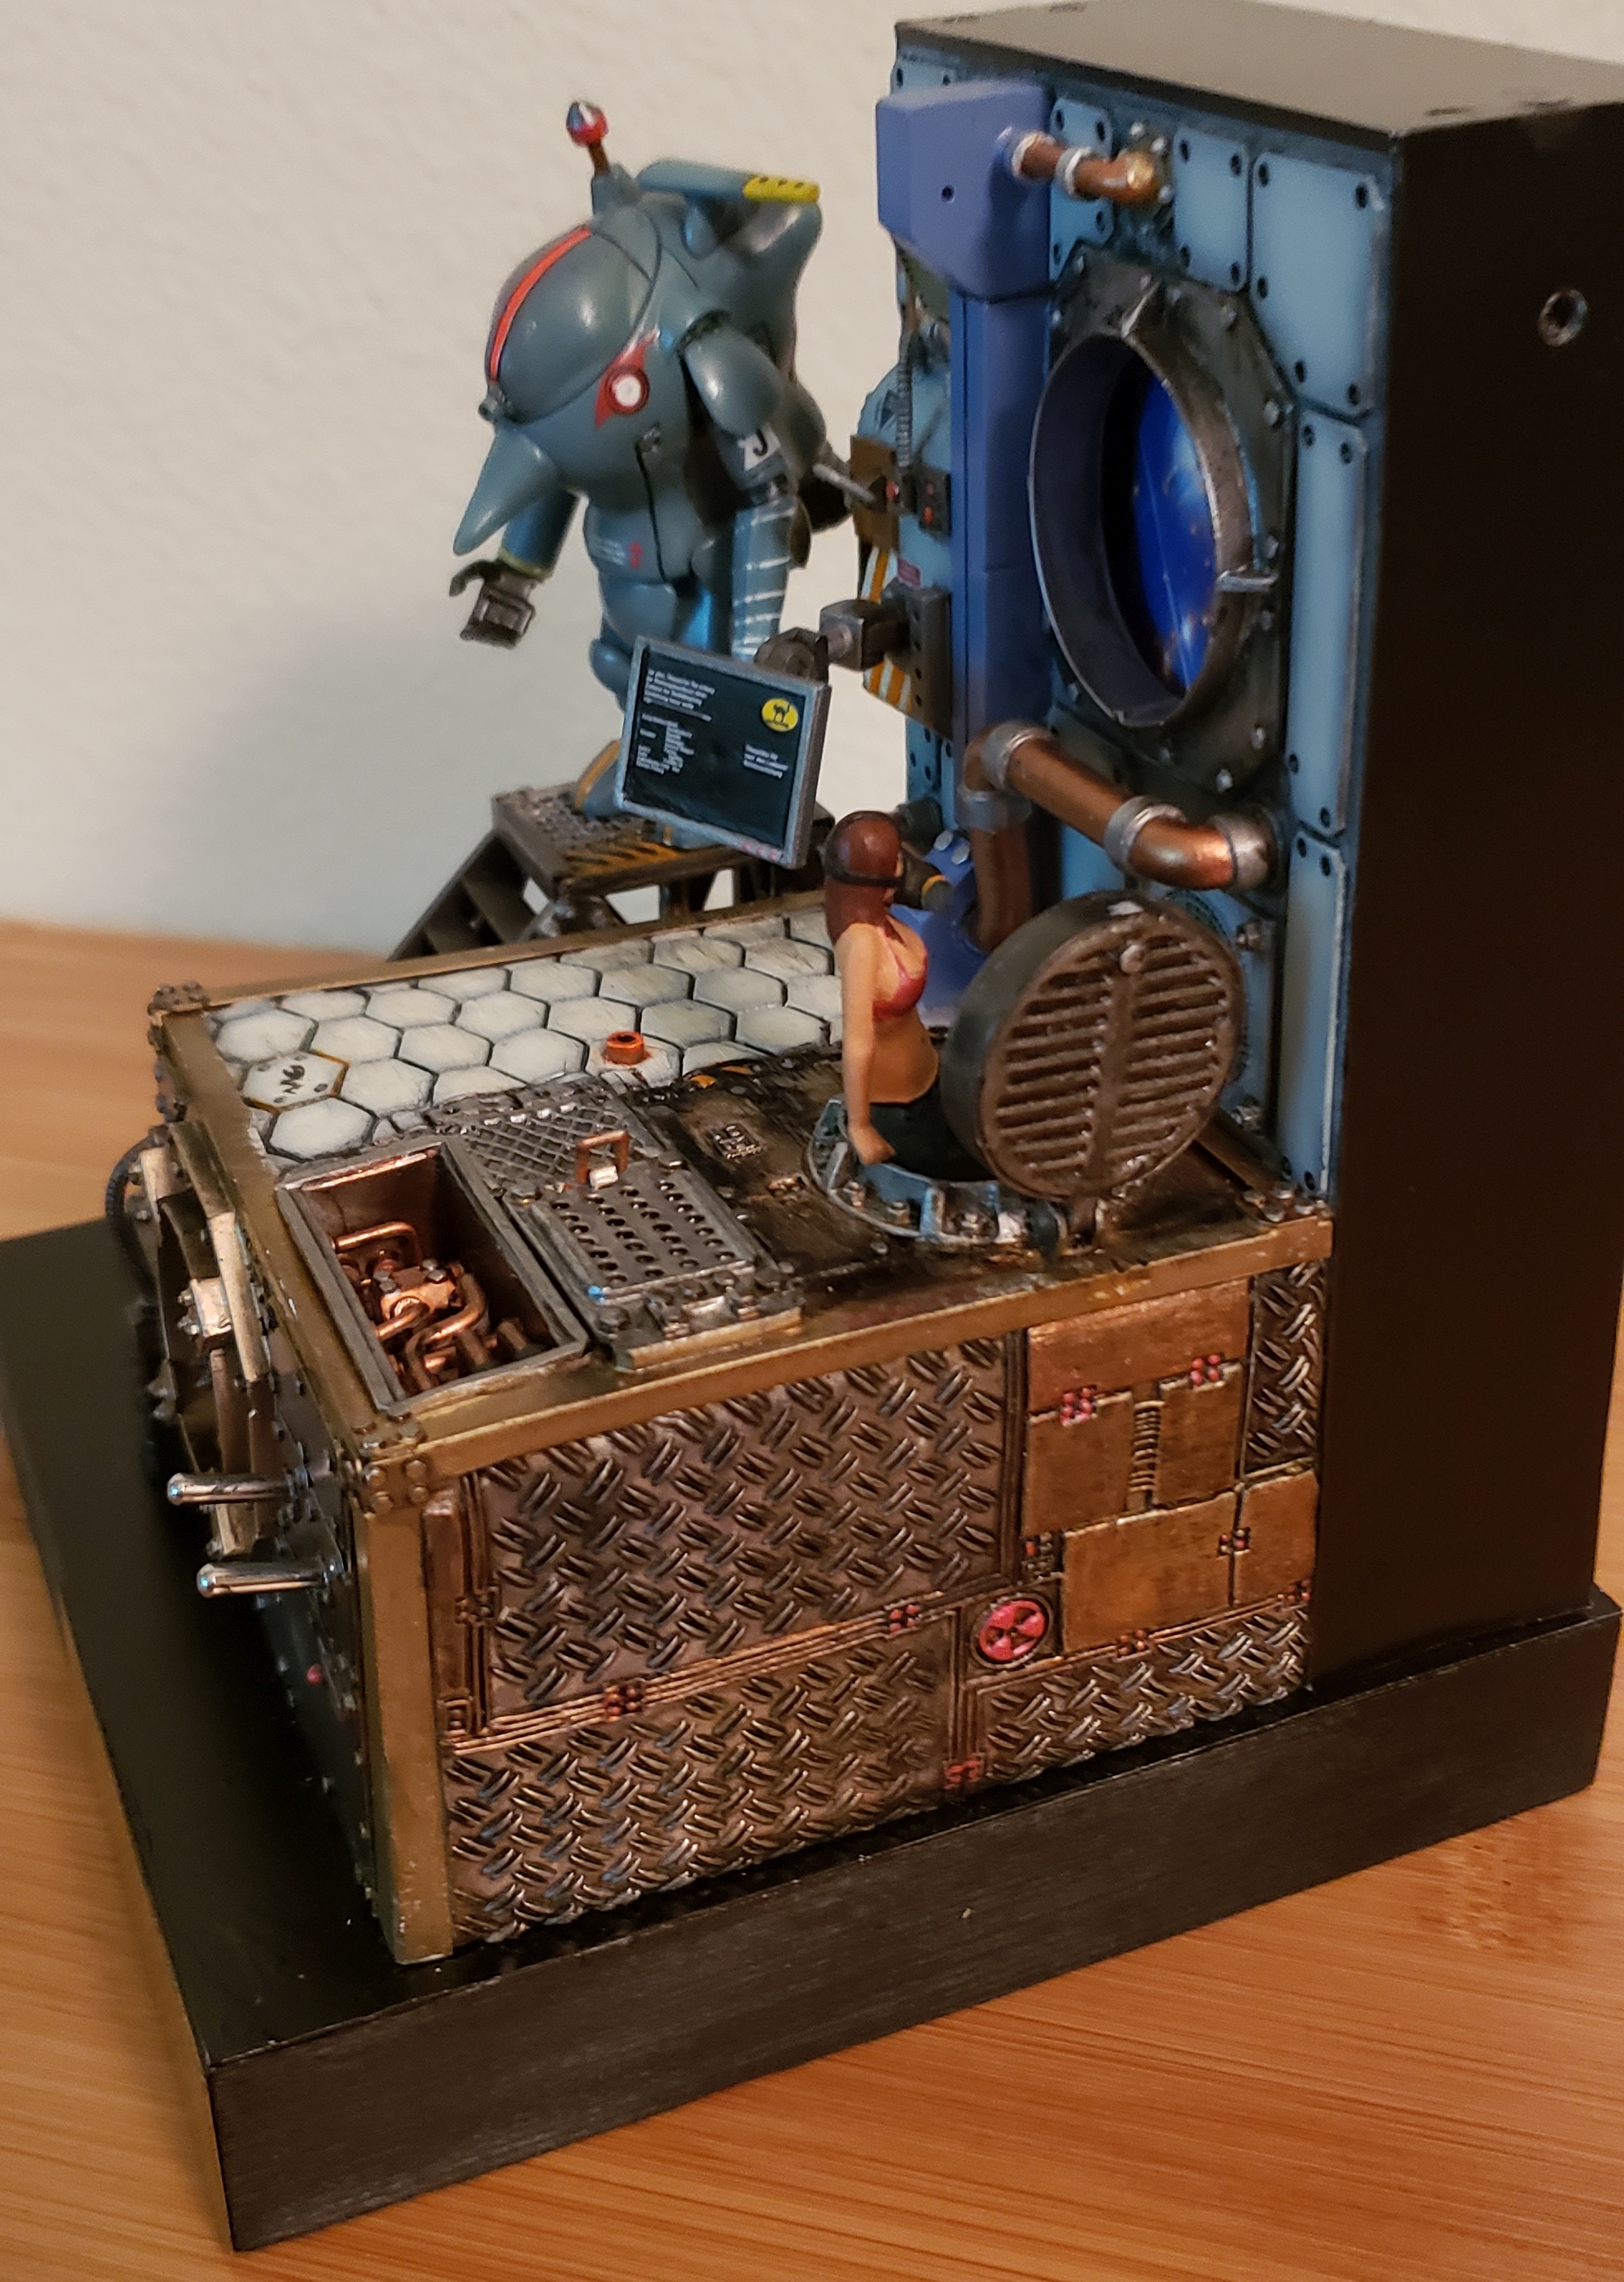
The floor was created using various pattern rollers, along with hand-crafted bolts and sculpted details—all made from Green Stuff within the one-hour working time of the two-part epoxy.
.jpg)
The Engine-Room Fan and Porthole: The fan was completely scratch-built. I spent days searching online and in stores for suitable propellers and fans—I wanted a six-blade design and ultimately decided to make my own (six is a magical number in the world of mechanical engineering 😉). The photo here shows the basic construction of the fan, the porthole, and its cover—all scratch-built. The fan is powered by a planetary gear motor. Early on, I experimented with different poses and figures to spark imagination and inspire new ideas. I’m a strong believer in starting with a general concept and allowing the model to evolve naturally—the creative process often guides the design as new forms and ideas emerge. Styrene angle irons were used to build the fan’s side covers, and bolts were added later to evoke the dieselpunk aesthetic of an aging spacecraft that demands constant maintenance.
The Engine-Room Fan and Porthole: The fan was completely scratch-built. I spent days searching online and in stores for suitable propellers and fans—I wanted a six-blade design and ultimately decided to make my own (six is a magical number in the world of mechanical engineering 😉). The photo here shows the basic construction of the fan, the porthole, and its cover—all scratch-built. The fan is powered by a planetary gear motor. Early on, I experimented with different poses and figures to spark imagination and inspire new ideas. I’m a strong believer in starting with a general concept and allowing the model to evolve naturally—the creative process often guides the design as new forms and ideas emerge. Styrene angle irons were used to build the fan’s side covers, and bolts were added later to evoke the dieselpunk aesthetic of an aging spacecraft that demands constant maintenance.
.jpg)
Completed diorama made from Styrene and Greenstuff prior to priming and painting. A great feeling.
.jpg)
Another view of the completed diorama made from Styrene and Greenstuff prior to priming and painting.
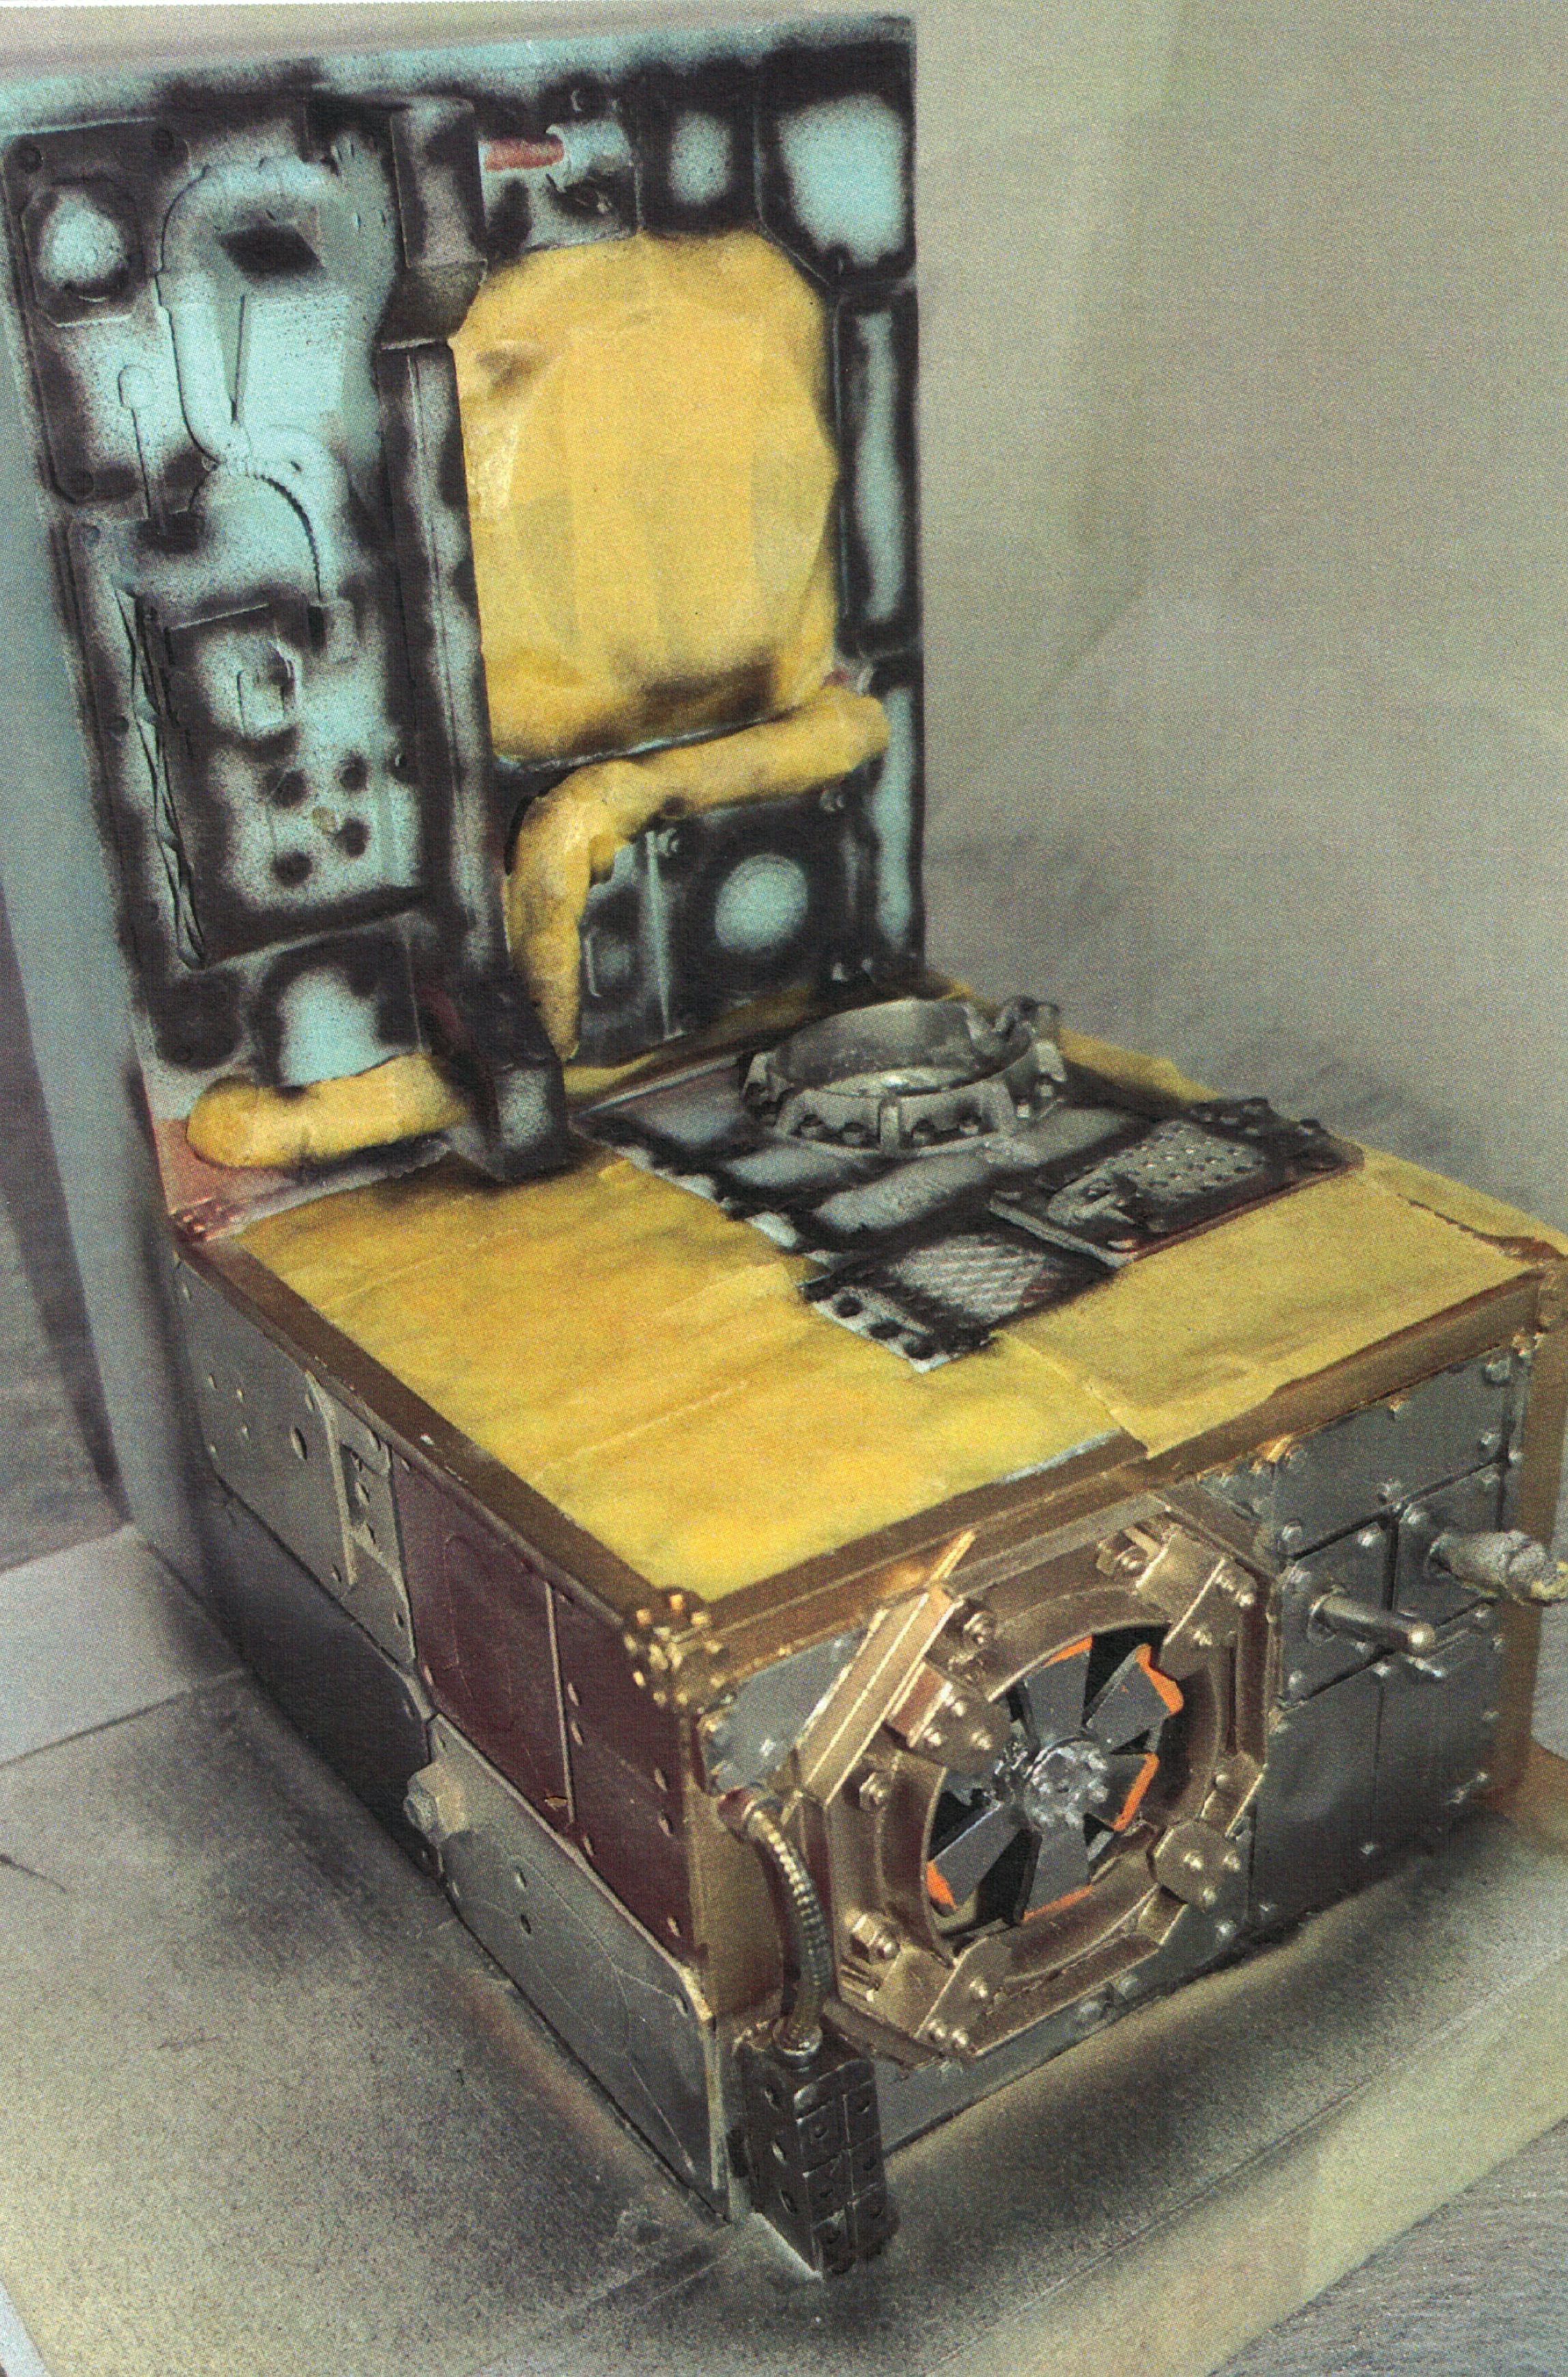
An example of pre-shading and masking along with some of the initial metallic paint applications.
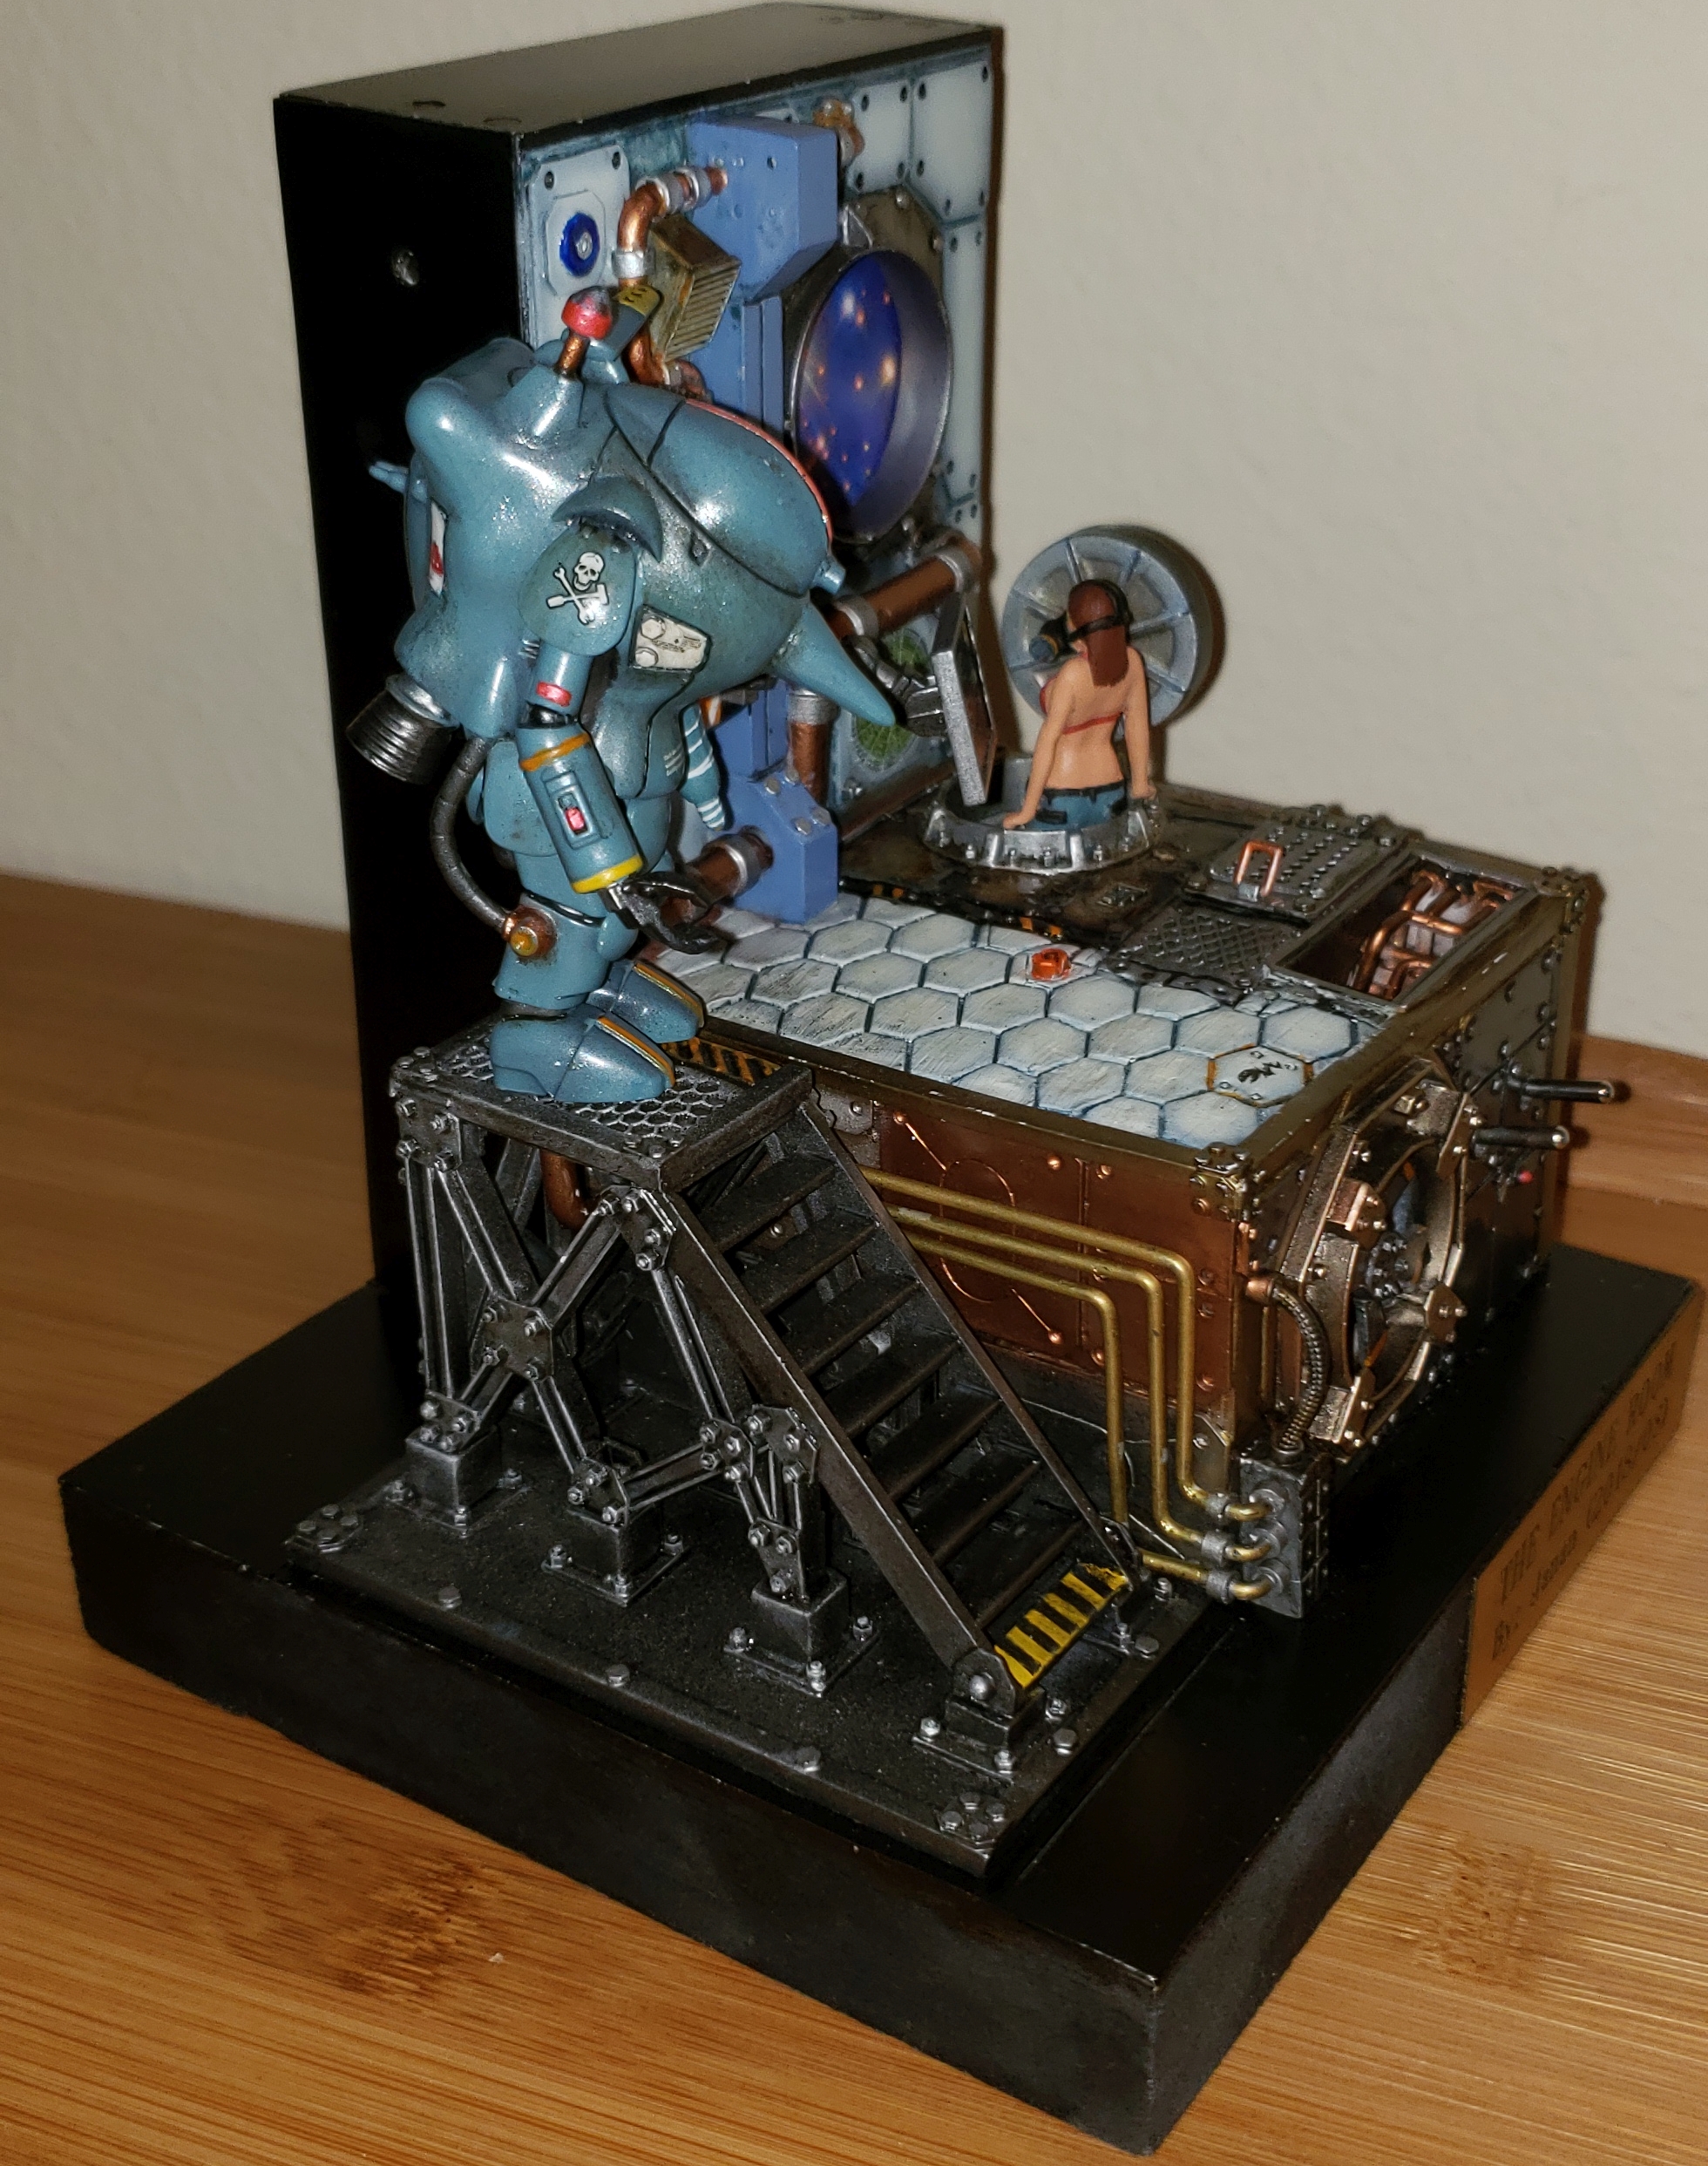
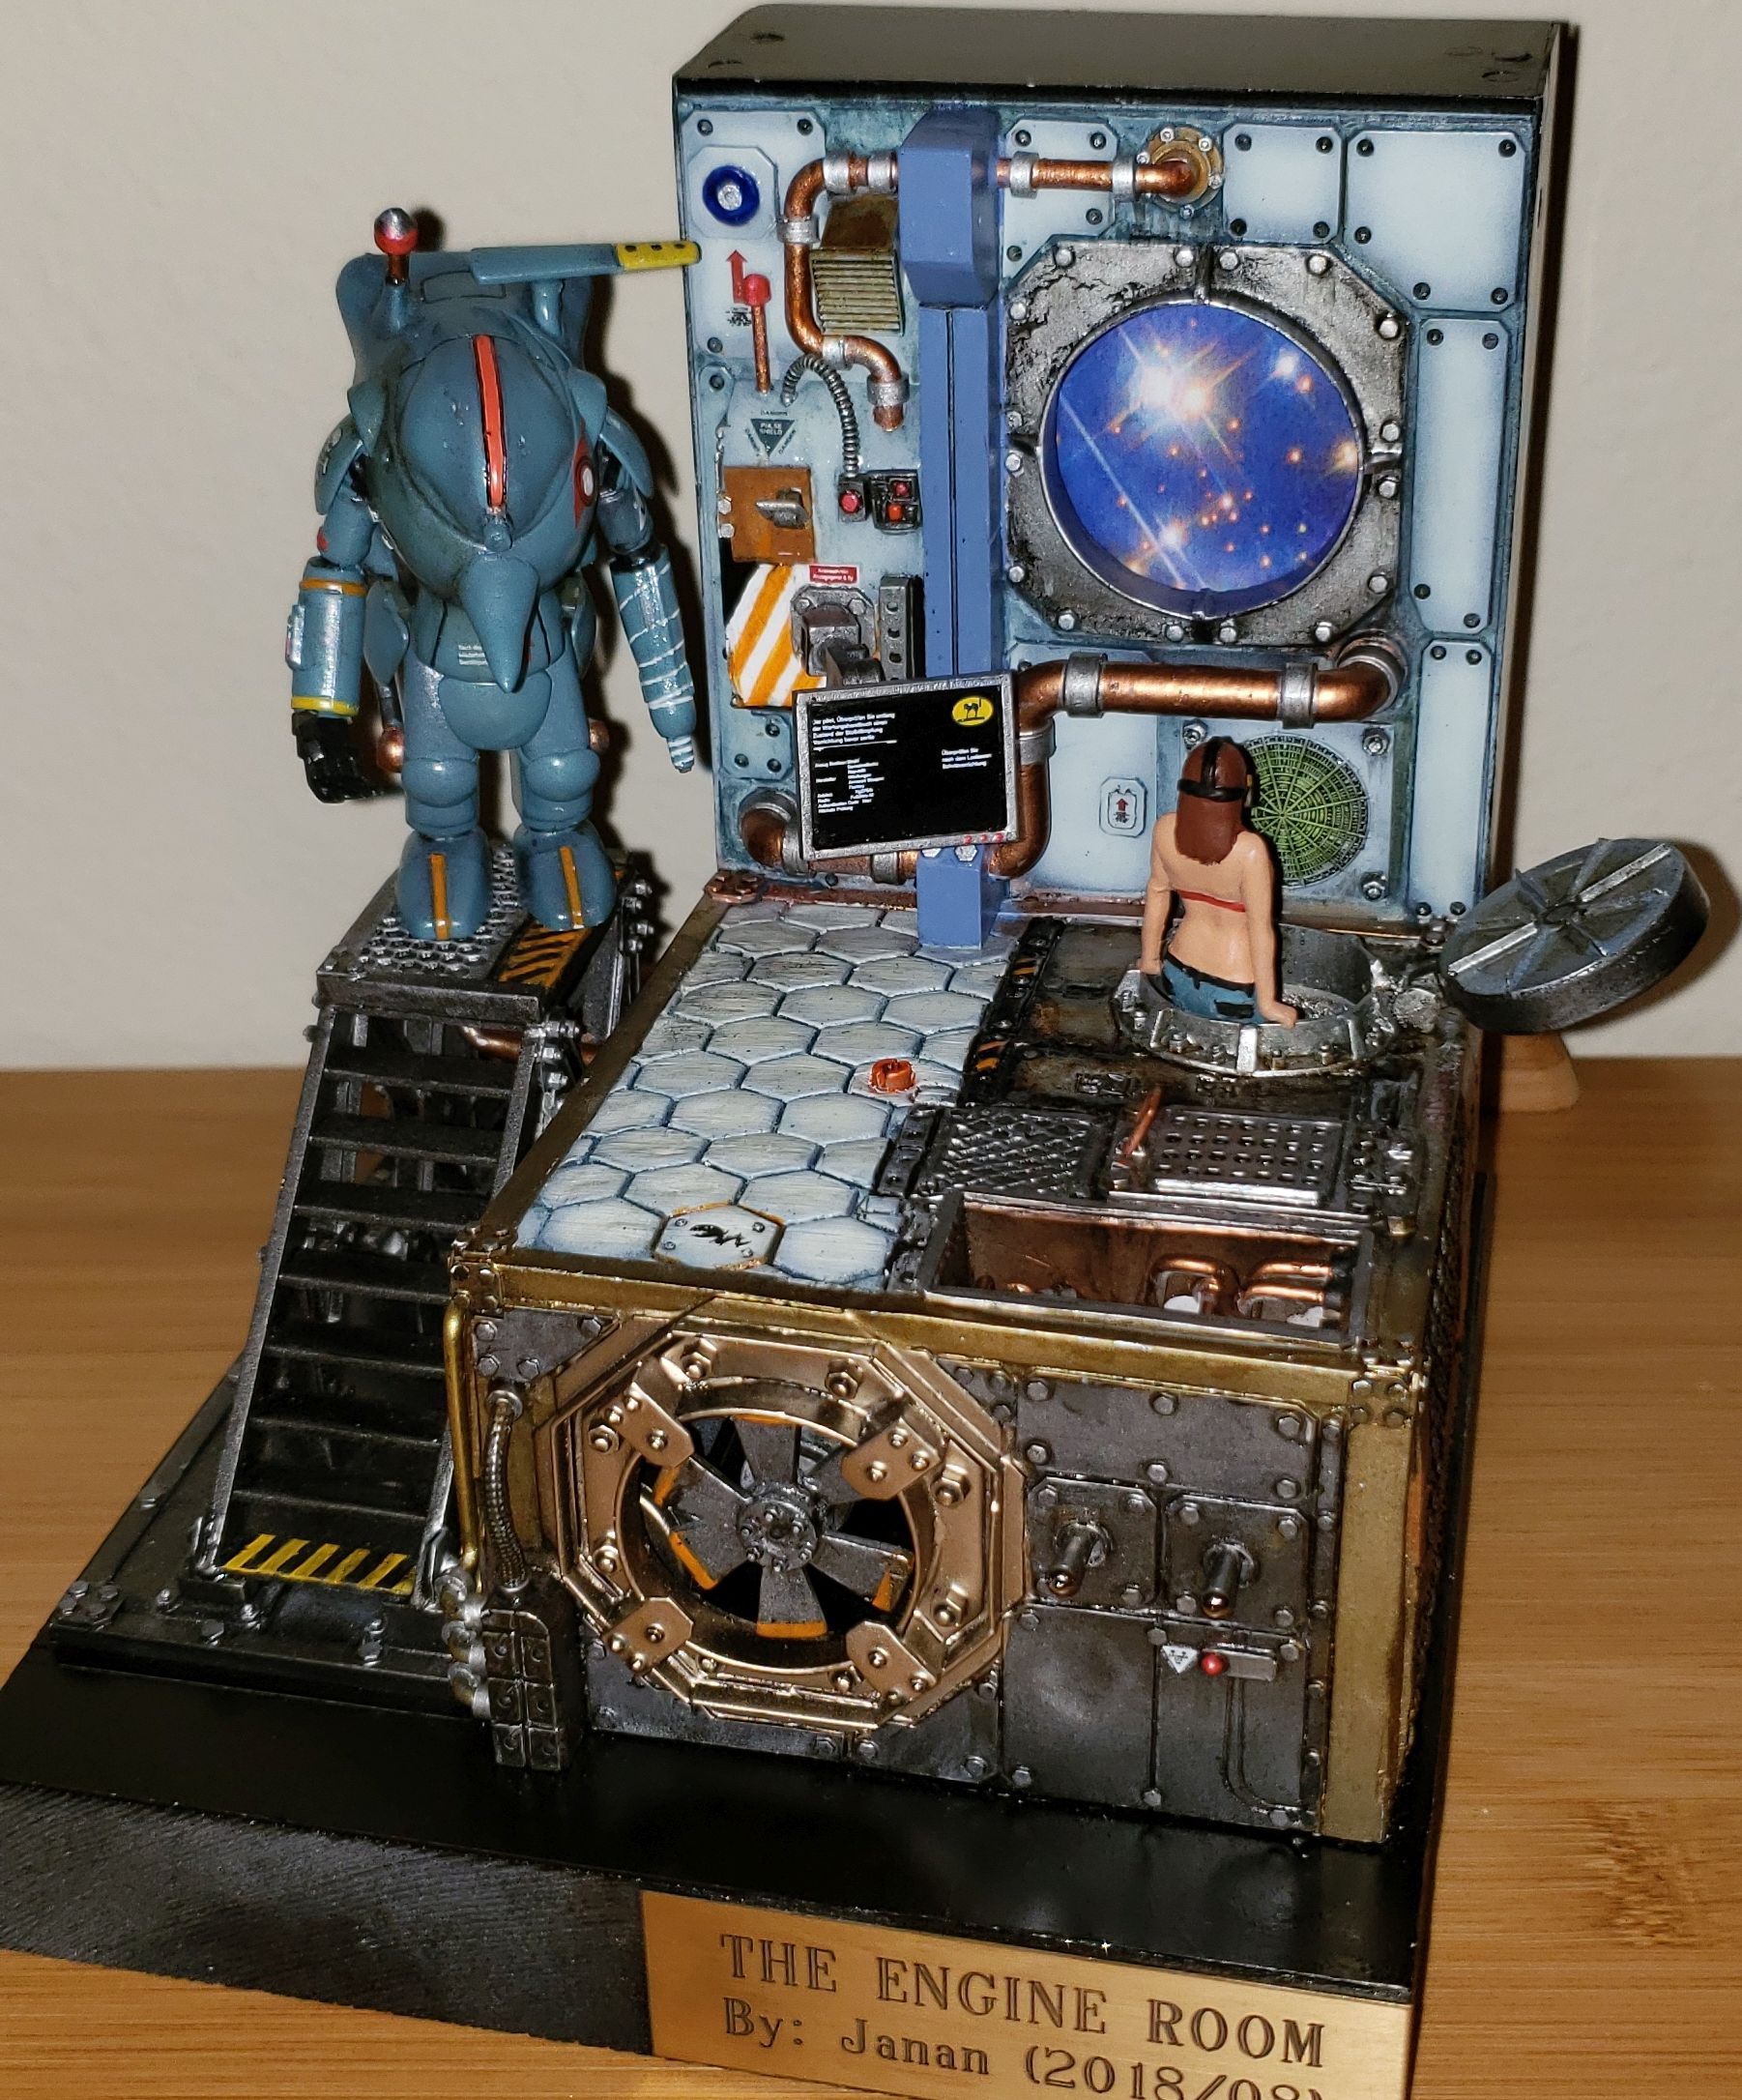
The idea for the Starwheel came from my desire to bring a sense of motion to a spaceship. The Starwheel has a 30-second cycle, meaning the pattern completes a full loop every 30 seconds. The mechanism driving the wheel consists of a simple gear motor, a timing belt, and a printed pattern based on one of Hubble’s extraordinary images. The covers and various diorama components are held together with N52 neodymium magnets for easy disassembly and maintenance. The Starwheel’s pattern is fully replaceable. Here, you can see that I even experimented with a “warp-wheel” concept, which I may incorporate into a future diorama. Engineering the Starwheel to run smoothly for hours—life-tested for 15 continuous hours without a glitch—proved challenging, as attaching the pattern to the timing belt required more thought than I initially expected.
The idea for the Starwheel came from my desire to bring a sense of motion to a spaceship. The Starwheel has a 30-second cycle, meaning the pattern completes a full loop every 30 seconds. The mechanism driving the wheel consists of a simple gear motor, a timing belt, and a printed pattern based on one of Hubble’s extraordinary images. The covers and various diorama components are held together with N52 neodymium magnets for easy disassembly and maintenance. The Starwheel’s pattern is fully replaceable. Here, you can see that I even experimented with a “warp-wheel” concept, which I may incorporate into a future diorama. Engineering the Starwheel to run smoothly for hours—life-tested for 15 continuous hours without a glitch—proved challenging, as attaching the pattern to the timing belt required more thought than I initially expected.


